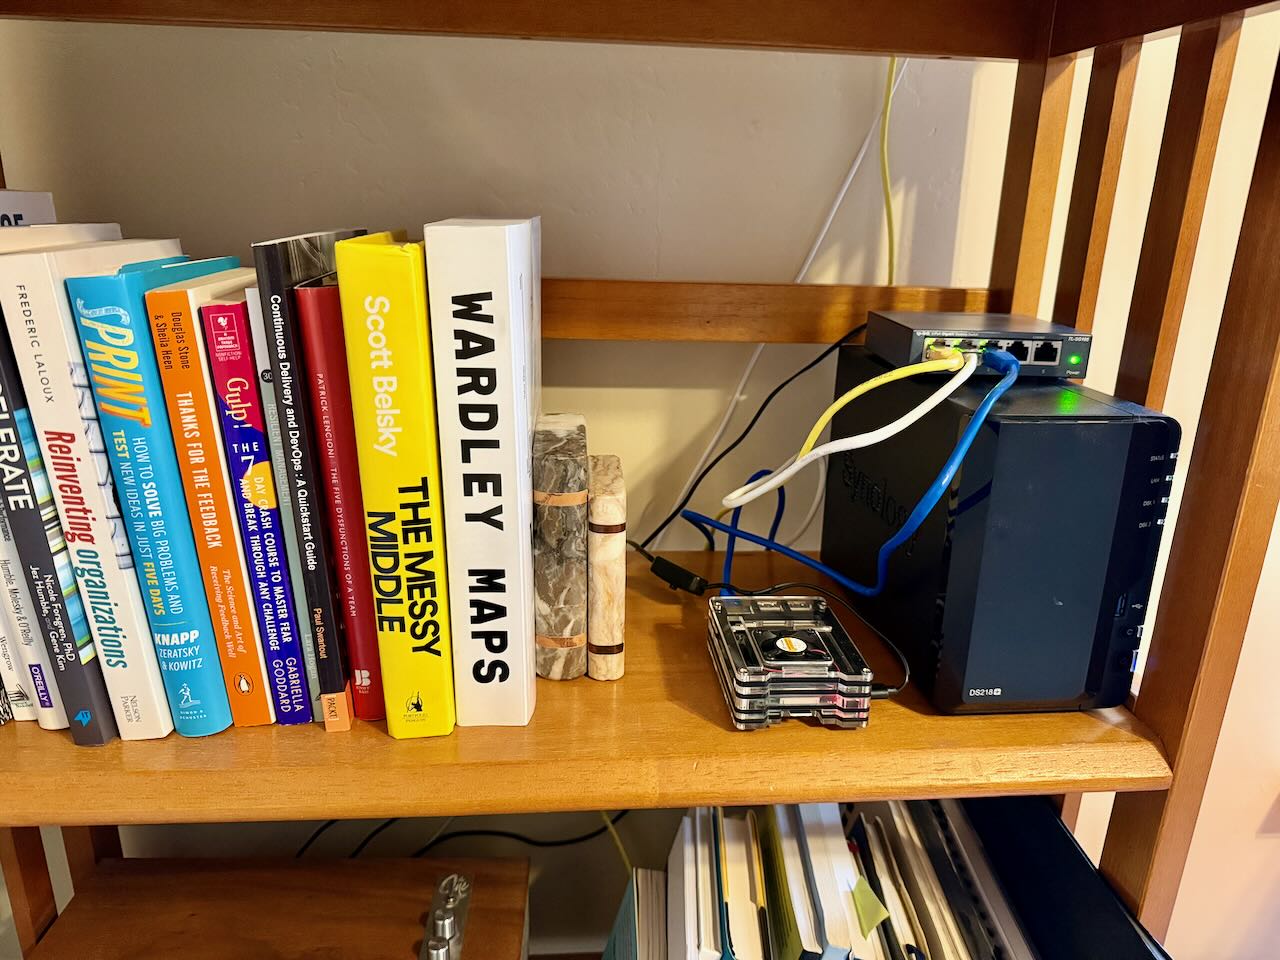
PaperMC on Raspberry Pi
My son is deeply invested in Minecraft and has been asking for a Minecraft server for a while. I’ve been looking for a Raspberry Pi project to do with him and this seemed like a good fit. Previously, we’ve hosted our Minecraft server on GCP as well as locally using Docker (combined with docker-compose).
Adapted from Raspberry Pi 4 PaperMC Minecraft Server (RpiOS Lite)
Overview
This README provides step-by-step instructions for installing and running a PaperMC Minecraft server on a Raspberry Pi running a 64-bit OS (arm64). It includes:
- Installing required packages
- Installing Java 21 via Adoptium (Temurin)
- Configuring a Paper server
- Running the server as a system service (so it starts automatically on boot)
When you are finished, you will have a Minecraft server running on port
25565within your local home network.
Prerequisites
- Comfort with the command-line.
- Raspberry Pi 4(or newer) with a 64-bit OS (e.g., Raspberry Pi OS arm64, Ubuntu 20.04/22.04 arm64, Debian arm64, etc.).
- Sufficient storage - At least 4 GB of free space (the more, the better).
- Good cooling - Running Minecraft can be CPU-intensive.
Verify 64-bit (arm64) Architecture
uname -m
- If it shows
aarch64orarm64, you’re on a 64-bit OS (arm64). - If it shows
armv7lorarmv6l, you’re on 32-bit (these instructions may not work for you).
Update Linux
This ensures your system is up-to-date before proceeding.
sudo apt update
sudo apt upgrade -y
Install Java 21 via Adoptium (Temurin)
Dependencies
Ensure the required dependencies are installed
sudo apt install vim wget tar screen
Download Temurin 21 (64-bit)
At this time, OpenJDK 17 was the most recent version of Java available on Raspberry Pi OS, with Java 21 being the most recent release. We are using the Temurin compiled binaries.
- Go to Adoptium.net
- Choose OpenJDK 21 (LTS)
- Select Linux, aarch64.
- Copy the direct download URL for the
.tar.gzfile and run:
wget https://github.com/adoptium/temurin21-binaries/releases/latest/download/OpenJDK21U-jdk_aarch64_linux_hotspot_<version>.tar.gz -O temurin21.tar.gz
Replace <version> with the actual build version (e.g., 21.0.1_12).
Extract and Move Java
tar -xf temurin21.tar.gz
sudo mkdir -p /usr/lib/jvm
sudo mv jdk-21* /usr/lib/jvm/jdk-21-temurin
Set Java Default
For my use-case, I am setting a system-wide default. If you prefer per-user, this can be accomplished by setting $JAVA_HOME in .bashrc and adding it to your $PATH.
sudo update-alternatives --install /usr/bin/java java /usr/lib/jvm/jdk-21-temurin/bin/java 1
sudo update-alternatives --config java
Verify Java Version
java -version
Download and Set Up Paper MC
Create a folder for the server:
mkdir -p ~/minecraft
cd ~/minecraft
- Go to papermc.io/downloads, select the latest version for your desired Minecraft version.
- Copy the download URL of the
.jar(e.g.,paper-1.21.4.jar) and run:
wget https://api.papermc.io/v2/projects/paper/versions/1.21.4/builds/29/downloads/paper-1.21.4-29.jar -O paper.jar
First Startup
java -jar paper.jar
- This will generate the structure for your Minecraft Server: the
eula.txtfile and other folders. - Open
eula.txtand changeeula=falsetoeula=trueto accept the EULA:
# I prefer vim. nano is also an excellent editor
vim eula.txt
Start the Server Again
Adjust -Xmx2048M to your available RAM (2 GB is often acceptable for a light server).
java -Xms512M -Xmx2048M -jar paper.jar nogui
Configure as a System Service (Auto-Start)
We’ll set up a service that, when started, launches Minecraft in a detached screen session named minecraft. This approach lets you attach to the server console at will.
Create a Service File
sudo vim /etc/systemd/system/minecraft.service
Paste the Following (adjust paths as necessary)
[Unit]
Description=Minecraft Server (PaperMC) via screen
After=network.target

[Service]
User=pi
WorkingDirectory=/home/pi/minecraft
Type=forking

# Start the server in a detached screen session named "minecraft"
ExecStart=/usr/bin/screen -DmS minecraft /usr/bin/java -Xms512M -Xmx2048M -jar paper.jar nogui

# Send the "stop" command to the server when stopping
ExecStop=/usr/bin/screen -S minecraft -p 0 -X stuff "stop^M"
ExecStop=/bin/sleep 10

Restart=on-failure

[Install]
WantedBy=multi-user.target
- User - Replace
piwith the user that owns the Minecraft folder if different. - WorkingDirectory - Replace
/home/pi/minecraftwith your server directory. - ExecStart - Adjust
-Xmxto match your system’s available memory.
Reload systemd and Enable Minecraft Service
This ensures the service starts at every boot.
sudo systemctl daemon-reload
sudo systemctl enable minecraft.service
Start the Minecraft Service
sudo systemctl start minecraft.service
- Check service status
sudo systemctl status minecraft.service
- To stop the server
sudo systemctl stop minecraft.service
Interact with the Server Console via Screen
Because the server is running inside a detached screen session named minecraft. If you accidentally close or get disconnected from SSH, the server continues running in the background thanks to screen.
screen -r minecraft
- You’ll now see the live server console.
- Detach again by typing
Ctrl + A, thenD.
Server Management Commands
Using systemd:
- Start:
sudo systemctl start minecraft
- Stop:
sudo systemctl stop minecraft
- Restart:
sudo systemctl restart minecraft
- Status:
systemctl status minecraft
Within screen:
- In-game commands - Type them in the screen console (e.g.,
op <username>,help,save-all, etc.). - Detach -
Ctrl + A, thenD(server keeps running).
Tips and Notes
- Memory Allocation - Adjust
-Xmsand-XmxinExecStartto suit your Pi’s RAM (e.g.,-Xmx2048M= 2 GB). - Stopping the Server The systemd
ExecStopautomatically sends thestopcommand to the server console. - Logs - Standard server logs remain in the
logs/folder. You can also check service logs with:
journalctl -u minecraft -f
- Screen is Optional – You can run the server without screen if you don’t need an interactive console. But screen is handy for manual commands/debugging.
Final Check
- Reboot your PI
sudo reboot
- After reboot, the server should start automatically in the background
- Using
screen, attach to the console. Confirm the server started and you can connect to the session.
screen -r minecraft
That’s it! You should now have a Paper MC server that launches inside a screen session and automatically starts on boot. Enjoy your Pi-based Minecraft world!